Overview
A class is a scheduled offering of a course with specific dates, times, and a location.
Use the Class Builder to create a new class, set pricing, define sessions, and control enrollment.
Prerequisites
Before creating a class, make sure:
- At least one course is available
- At least one location is available
- You know the schedule (dates and times)
Open the Class Builder
Steps
- Click Build Class in the quick actions menu at the top of the website

Choose the start date
Steps
Select the date you would like you series of classes to begin
Click Next: Templates

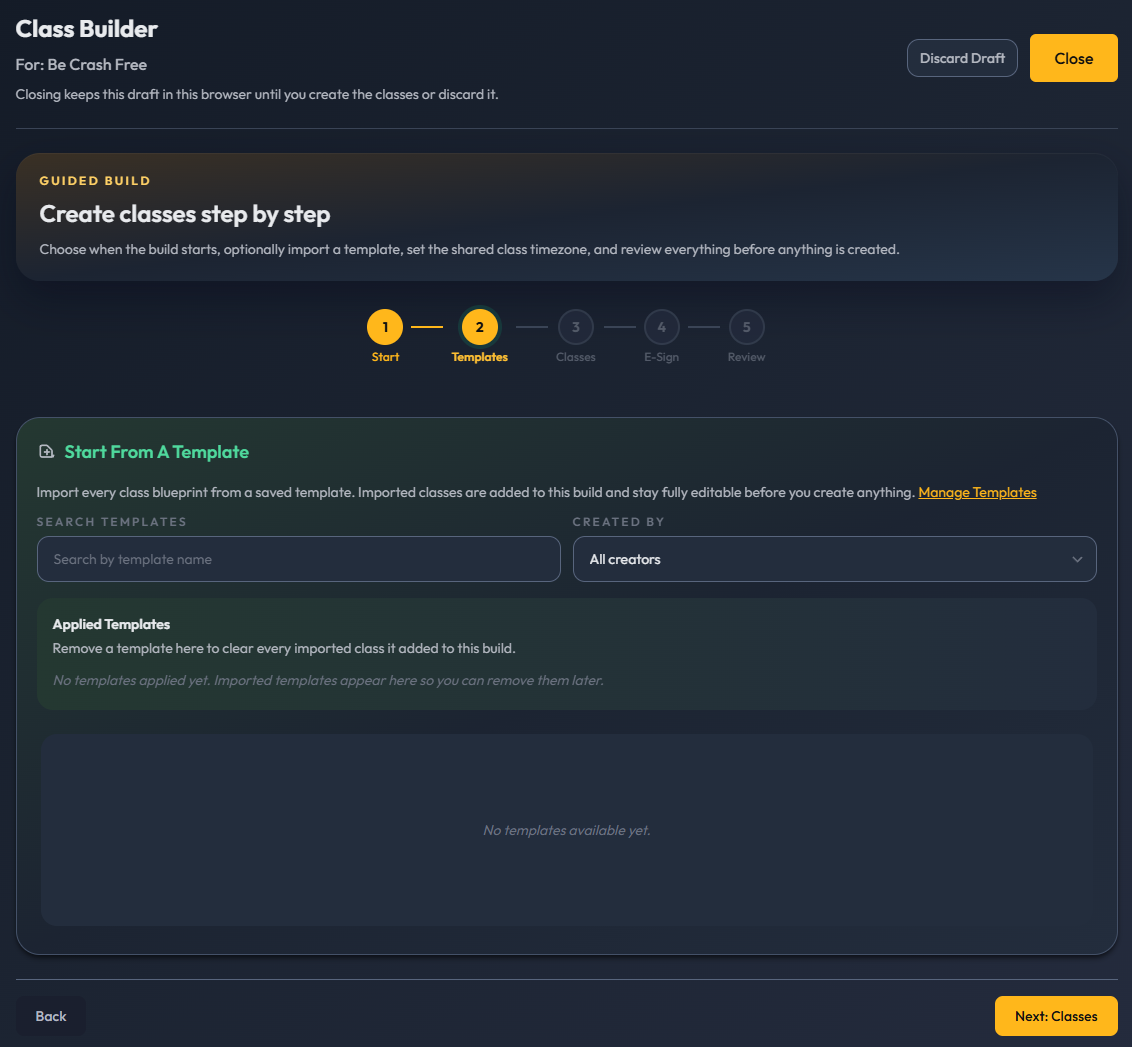
Templates
Steps
- If using a template, click the template you wish to use
- Click **Next: Classes”
Add Class Sessions
Each class must have at least one session.
Steps
- Verify timezone
- Choose + Add Class or + Create Your First Class
- Choose a Course rom the dropdown
- (Optional) Choose a color
- Set your class repitition pattern with the dropdown and number of weeks
- Create each sessions nessecary as determined by your course Note: Each session will need to be assigned the day of the week, which week of the pattern it begins, the start and end times, and the location.

- (Optional) Assign instructors
- Choose Next
- Use the options to label your classes

Configure Enrollment Settings
Steps
- Set the course enrollment fee
- (Optional) Set seat cap override
- 0 or empty will default maximum number of seats to the maximum capacity of your location
- Set Enrollment Cut-Off (days)
0= enrollment stays open until the class starts
- Choose Advanced Settings
- Set Refund Options
- Enable or disable refunds
- Set a refund cut-off if needed. This is the minimum number of days before class that an automatic refund will be granted
- (Optional) Set a Cancellation Fee. The cancelation fee is an amount withheld from an automatic refund.

Set Visibility and Availability
Steps
- Set Enrollable
- Controls whether students can register
- Set Viewable
- Controls whether the class appears in the catalog
Create the Class
Steps
Review all details
Select Add Class(s)

What Happens After Adding Classes
- The class appears in calendar view
- Additional classes can be added
- Sessions determine schedule and availability

Add E-Sign Documents and Complete Creation
Steps
- Click Next: E-Sign
- Choose each E-Sign document that you require for a student to participate in these courses

- Choose Next: Review
- Review all of configuration for your classes
- If everything is correct, choose Create Classes
What Happens After Creation
- The class appears in the catalog (if viewable)
- Students can enroll (if enrollable)
- Sessions determine schedule and availability

Tips
- Double-check sessions before creating the class
- Use preview or verify the class appears in the catalog
- Set Enrollable to No if you want to prepare the class before opening registration
Troubleshooting
I cannot create a class
Check that:
- A course is selected
- A session is added
- All required fields are filled
No courses appear
- Make sure courses are available for your organization
No locations appear
- Make sure at least one location is set up and active
Students cannot enroll
Check:
- Enrollable is set to Yes
- Enrollment cut-off has not passed
FAQ
Can I edit a class after creating it?
Yes. Open the class and select Edit.
Can I create a multi-day class?
Yes. Add multiple sessions.
Can sessions have different locations?
Yes. Each session can use a different location.
What does “Viewable” mean?
It controls whether the class appears in the catalog.
What does “Enrollable” mean?
It controls whether students can register for the class.
Was this article helpful?
That’s Great!
Thank you for your feedback
Sorry! We couldn't be helpful
Thank you for your feedback
Feedback sent
We appreciate your effort and will try to fix the article