Use State Data Reporting to export records in XLSX, CSV, or JSON format. You can export all represented entities or narrow the file by state and individual entity.
Note: The states, entities, datasets, and row counts available to you depend on your account permissions.
Before you start
- Confirm that you can access State Data Reporting.
- Decide which represented entities and datasets you need.
- Confirm that you are authorized to export and handle any sensitive data included in the file.
Choose a file format
| Format | Best for | Result |
|---|---|---|
| XLSX | Several datasets or spreadsheet review | A workbook with one worksheet per selected data source |
| CSV | Straightforward analysis or data transfer | A multi-section spreadsheet export |
| JSON | System integrations or structured processing | Metadata and structured row payloads |
Export your data
1. Open State Data
From the main navigation on the left hand side, select State Data.
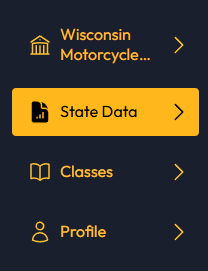
Select State Data from the main navigation.
2. Open the export workspace
On the State Data Reporting page, select Export Data in the upper-right corner.

Select Export Data from State Data Reporting.
3. Start a new export
On State Entity Data Exports, select New Export.

Select New Export to open the export form.
4. Choose the represented entities
Use the state filters and entity checkboxes to control which records are included.
- To include every represented entity, leave all entity checkboxes unselected.
- To narrow the export, choose a state and/or select one or more individual entities.
- State and entity filters work together. Review the final scope before continuing.
Tip: Review the state headings, entity names, and counts. Scroll through the list when more represented entities are available.
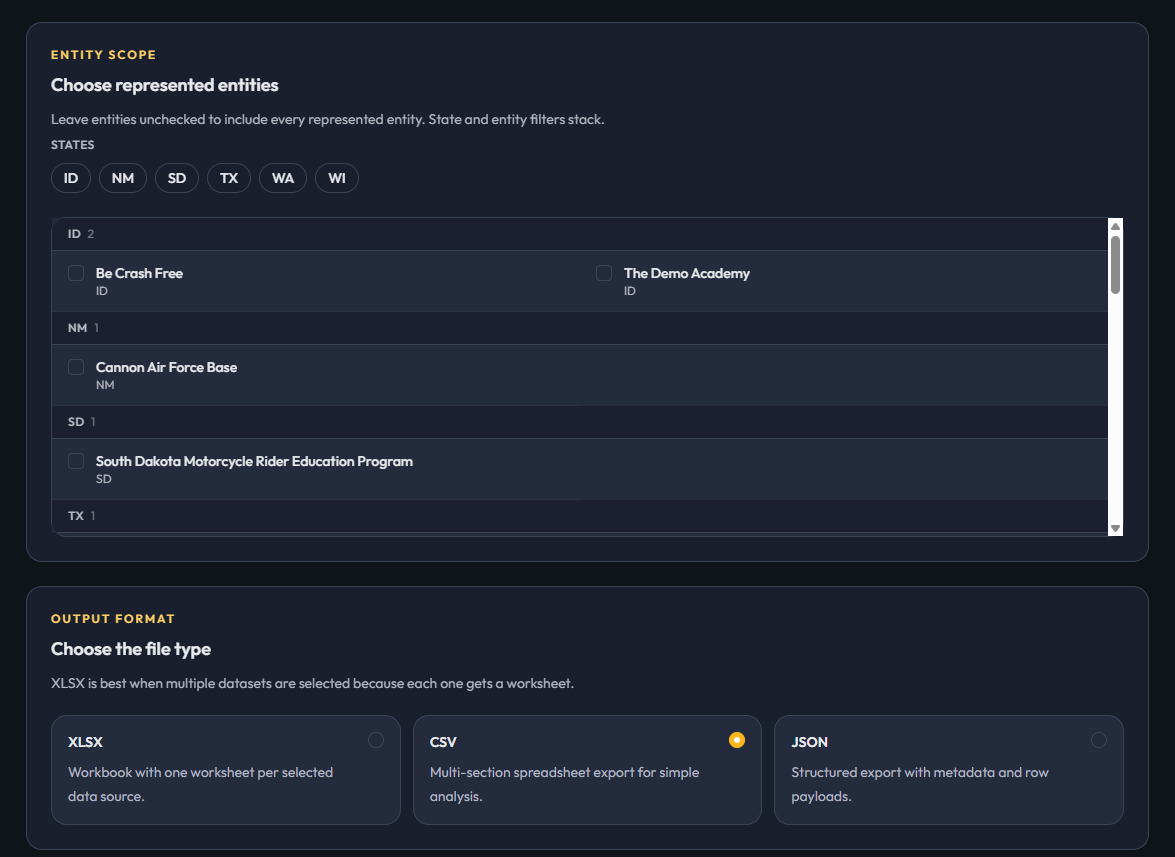
Set the represented-entity scope and choose a file type.
5. Choose the output format
Select XLSX, CSV, or JSON. XLSX is recommended when you select several datasets because each data source is placed on its own worksheet.
6. Select the datasets
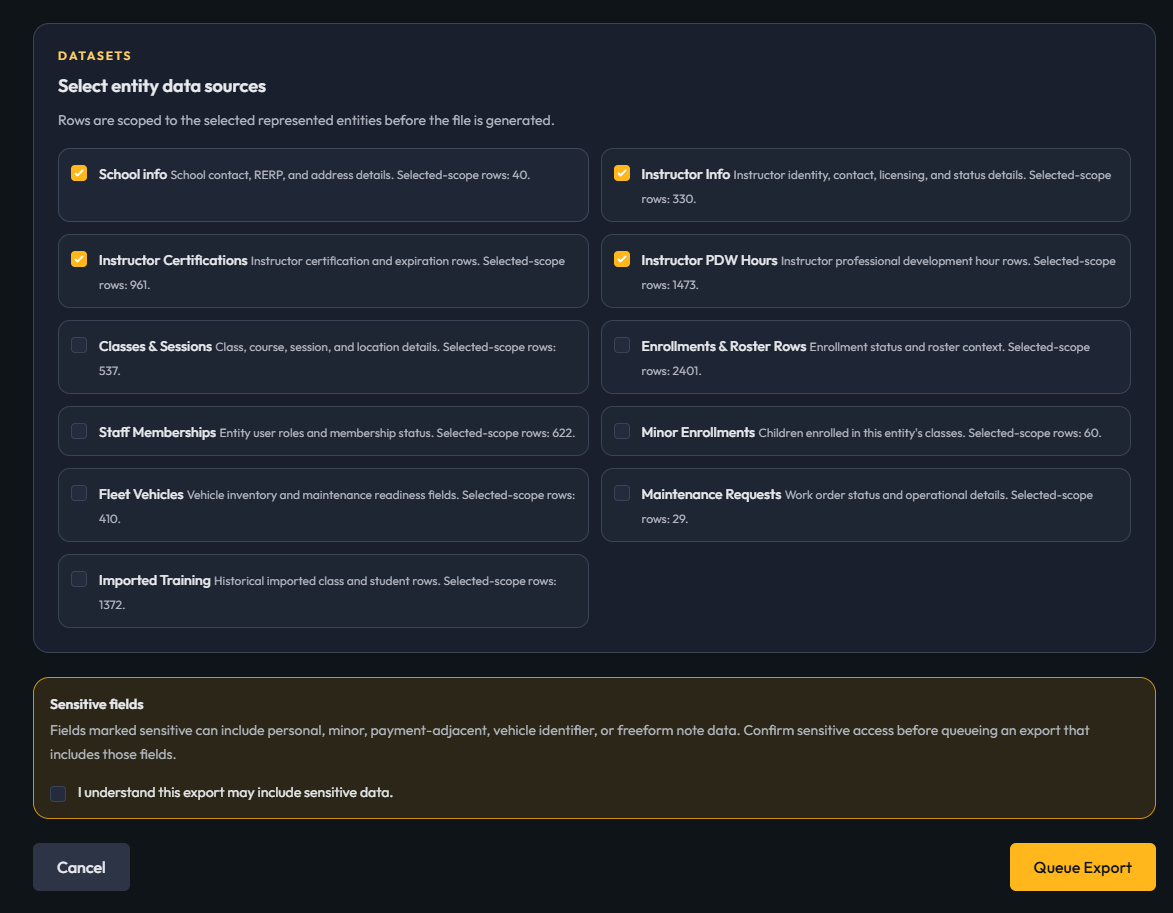
Select one or more datasets.
Available data sources may include:
- School and instructor data: School Info, Instructor Info, Instructor Certifications, and Instructor PDW Hours
- Training and enrollment data: Classes & Sessions, Enrollments & Roster Rows, Minor Enrollments, and Imported Training
- Operations and access data: Staff Memberships, Fleet Vehicles, and Maintenance Requests
Sensitive data: Some datasets may include personal, minor, payment-adjacent, vehicle identifier, or freeform note data. Select the acknowledgment only after confirming that you are authorized to export and handle those records.
 \
\
Select datasets, review row counts, and complete the sensitive-data acknowledgment when required.
7. Queue the export
Review the entity scope, output format, datasets, and sensitive-data confirmation. Select Queue Export to submit the request. Select Cancel to leave without submitting it.
8. Download the completed file
The request appears on State Entity Data Exports for status tracking. When the export is complete, download the file before it expires.
Check the downloaded file
- Confirm that the file opens in the expected application or processing tool.
- Verify that the included entities and datasets match your request.
- Compare worksheets, sections, or payloads with the selected-scope row counts when practical.
- Store, share, and retain the file according to your organization's data-handling requirements.
Was this article helpful?
That’s Great!
Thank you for your feedback
Sorry! We couldn't be helpful
Thank you for your feedback
Feedback sent
We appreciate your effort and will try to fix the article